New project wizard
The New project wizard helps you quickly include the most essential components in your project, allowing you to start calculations immediately.
These components include project data, module selection, and the import of predefined templates from the Central Library. With the next wizard, such as Import 2D CAD, Residential Geometry Wizard, or Commercial Geometry Wizard, you can then quickly define the geometry.

Step 1 - Basic data
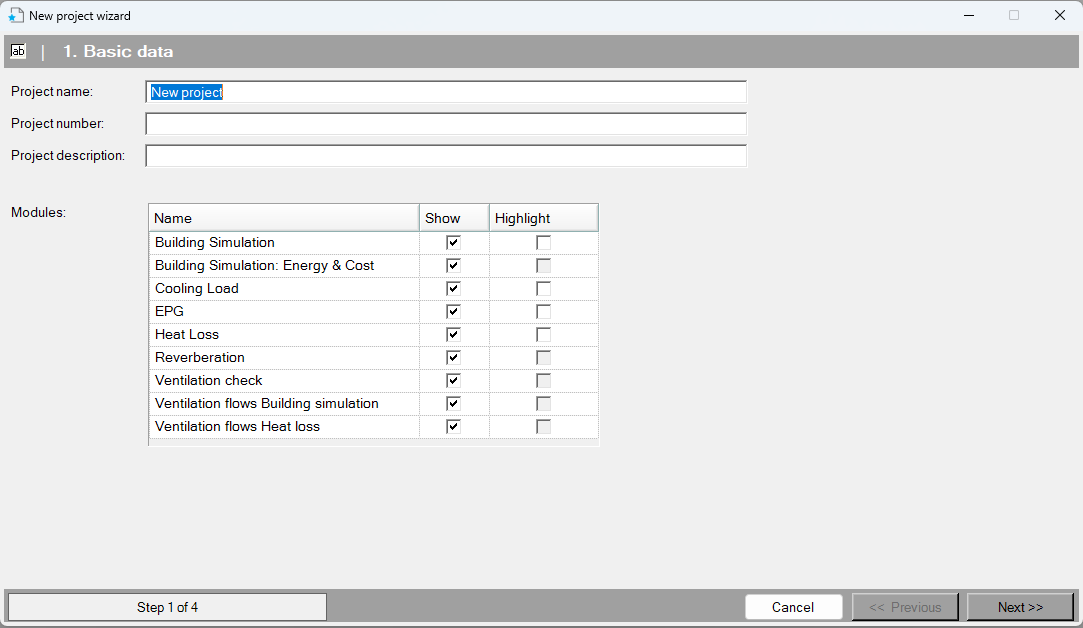
You enter the name of the building and select the calculations to be performed. Choose which module you want to highlight to see the differences in input. All input fields relevant to the selected module will now be highlighted in blue in Vabi Elements.
Proceed
- When the above information is entered correctly, go to step 2 by clicking Next.
- You can exit the wizard at any time by clicking Cancel. The wizard will then be aborted, and the entered information will be lost.
Step 2 - Select profiles
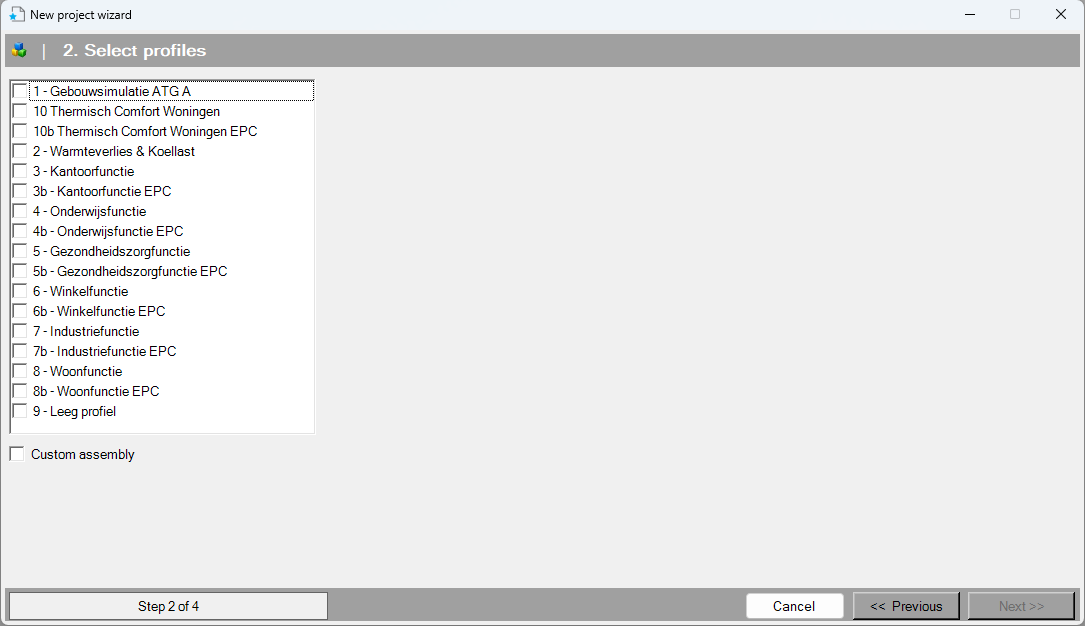
Step two concerns the Profiles in the Central Library. Multiple profiles can be assigned here. The data and the interconnections within a profile are copied to the project.
Profiles
This list corresponds to the profiles in the Central Library. If the profiles are selected and the option to customize is not chosen, the wizard proceeds to Step 4, skipping Step 3. If a profile is selected, all tools and templates within the profile are copied to the project. See also Profiles.
Custom assembly
You can also copy individual tools and templates to the project without a profile. In this case, you will be directed to Step 3, where these components can be selected.
Proceed
- When the above information is entered correctly, proceed to Step 3 or Step 4 by clicking Next.
- You can modify data from a previous step by clicking Previous. The data from all steps will be retained.
- You can exit the wizard at any time by clicking Cancel. The wizard will then be aborted, and the entered information will be lost.
Step 3 - Central library
Centra library
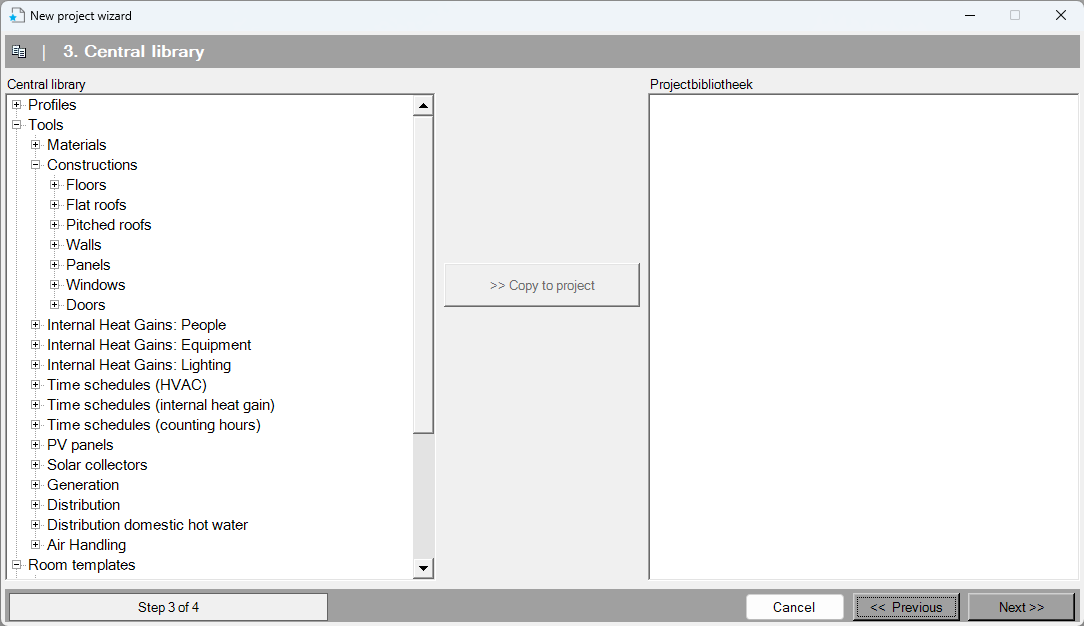
Step three is only applicable if you choose custom assembly without selecting a profile. A screen will appear with two columns containing profiles, tools, and templates. On the left side, you will see a list with the entire contents of the library. On the right side, you will see a list with the entire contents of the project library.
Proceed
When the above information is entered correctly, proceed to Step 4 by clicking Next.
You can modify data from a previous step by clicking Back. The data from all steps will be retained.
You can exit the wizard at any time by clicking Cancel. The wizard will then be aborted, and the entered information will be lost.
Step 4 - Geometry
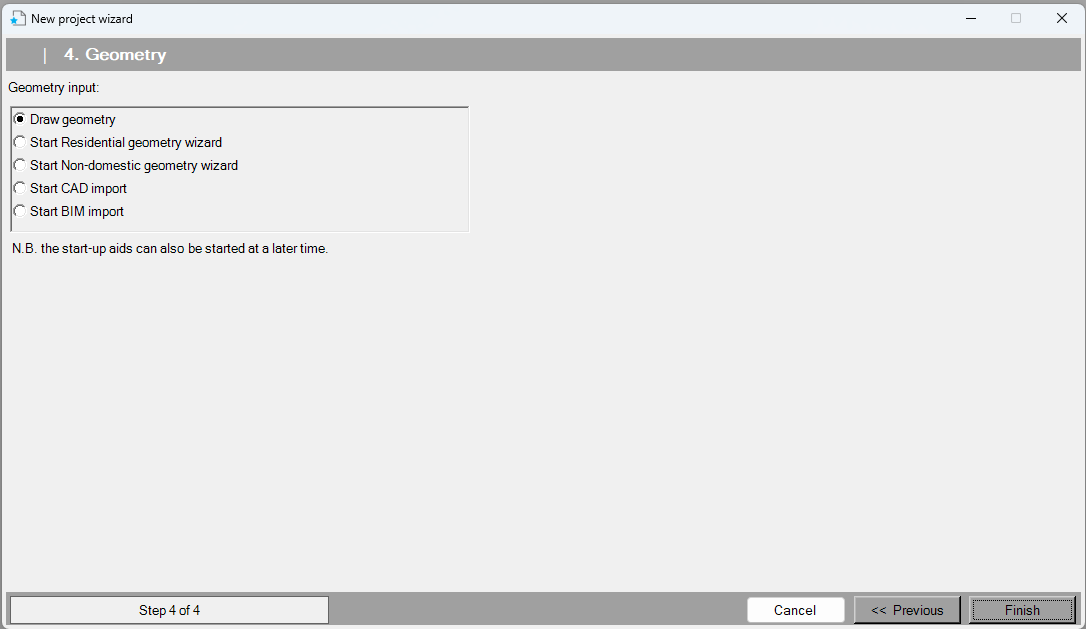
Step four gives you the option to import a portion of the building geometry using wizards for residential or commercial buildings, or import via CAD.
- Draw geometry: Choosing this option leaves the geometry empty after completing the wizard, so you can draw the geometry yourself under the menu item.
- Start Residential Geometry Wizard: Choosing this option will proceed directly to the Residential Geometry Wizard after completing the wizard.
- Start Non-deomestic Geometry Wizard: Choosing this option will proceed directly to the Commercial Geometry Wizard after completing the wizard.
- Start CAD Import: Choosing this option will proceed directly to the Import 2D CAD after completing the wizard.
- Start BIM Import: Choosing this option will proceed directly to the Import 3D BIM after completing the wizard.
Proceed
When all data in the wizard is correctly entered, click Finish. The project will now be created based on the entered data, and you will automatically be redirected to any chosen geometry wizard.
You can modify data from a previous step by clicking Previous. The data from all steps will be retained.
You can exit the wizard at any time by clicking Cancel. The wizard will then be aborted, and the entered information will be lost.