3D Sketchup import wizard
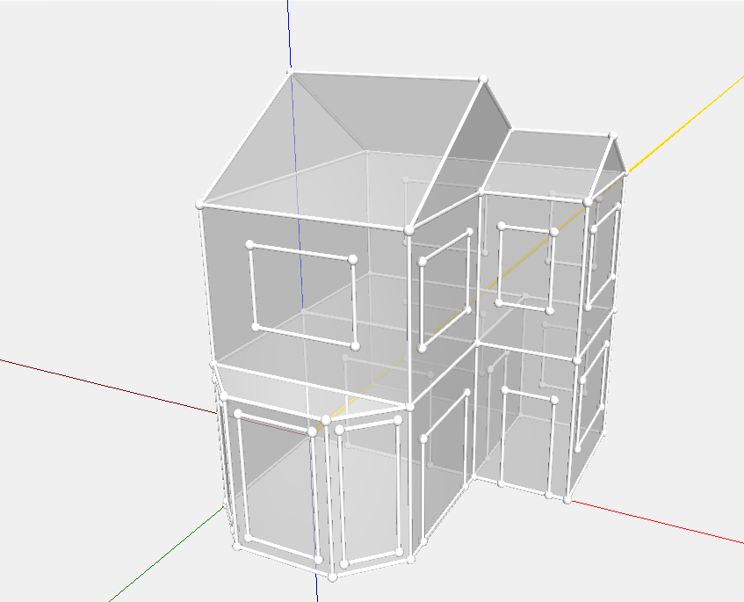
The “Import 3D SketchUp” option provides you with the capability to directly import a 3D model from a SketchUp file (SKP) into Vabi Elements. When you choose this option, a screen will appear allowing you to select a file. Once the desired model for import is chosen, it will be directly imported.
The SketchUp Import Wizard is designed to simplify the process of importing a 3D drawing and converting it into the 3D geometry that Vabi Elements uses for its calculations. SKP versions 2013 and newer can be imported. Starting from version 3.2, it’s possible to perform an import while retaining the existing geometry in the project.
Requirements SKP file
Supporting file format
- Supported file format: The SKP file should be in version 2013 or newer.
Size of the file
- Be mindful of a limit of around 2000 spaces.
- The exact limit depends on hardware, software configuration, and IFC import settings. If you frequently approach this limit, consider contacting Vabi Software for guidance on improving your computer’s performance.
Groups
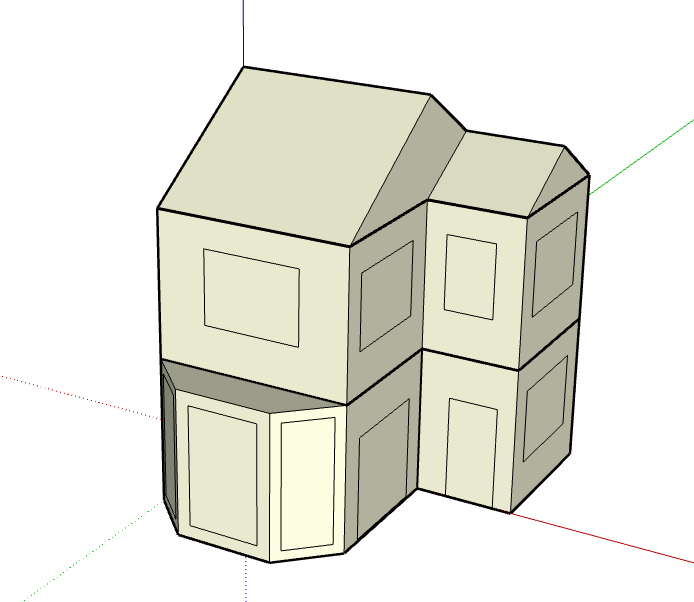
- An SKP file must consist of Groups. Each Group in SketchUp is read as a Space in Elements.
- You can easily create Groups by selecting the components of a space and grouping them using the ‘Make Group’ function.
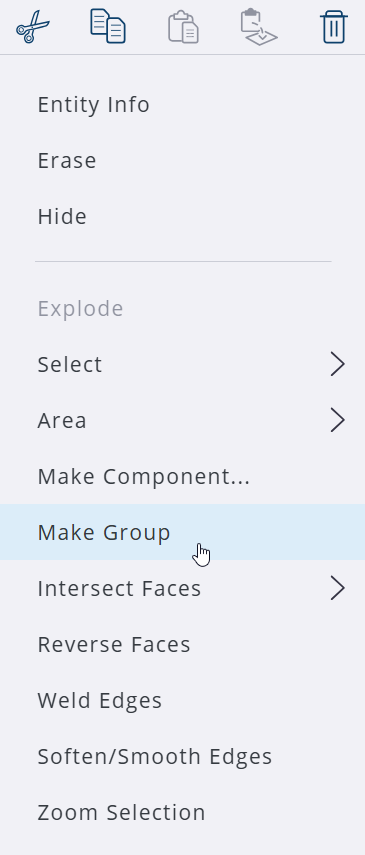
To define a component as a Group, it is sufficient to only select the walls. Floors, ceilings, and flat roofs do not need to be selected.
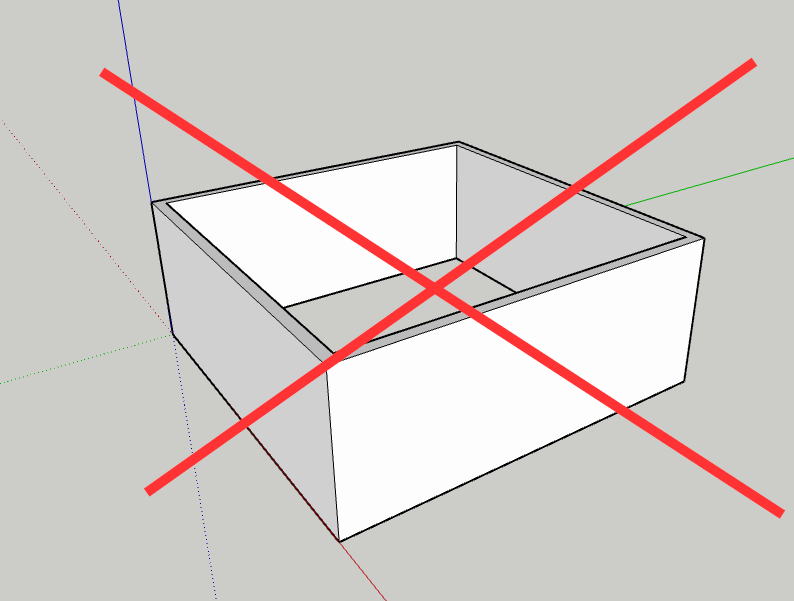
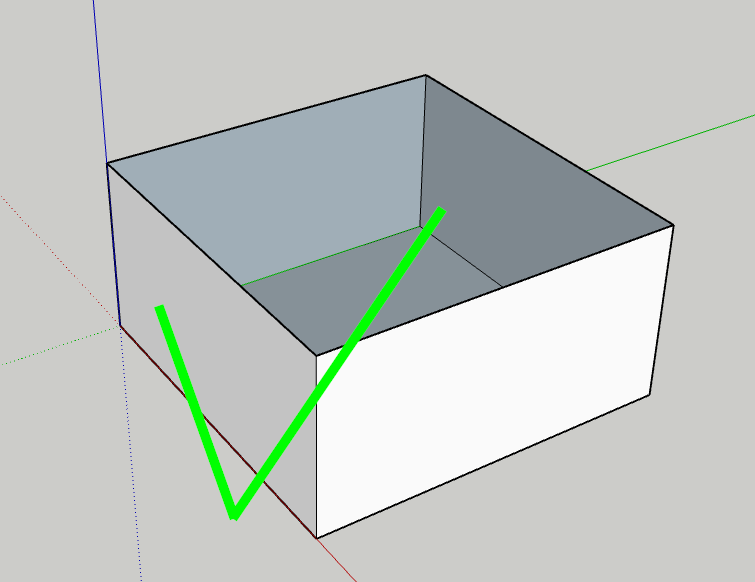
- Make sure to work with volumes, known as “blocks,” without wall thicknesses or loose or protruding components. It is important that everything is modeled as a volume, otherwise the space cannot be imported.
Windows and doors
Note: Windows and doors cannot be imported from SketchUp into Vabi Elements. However, there are two ways to easily add them after a SketchUp import:
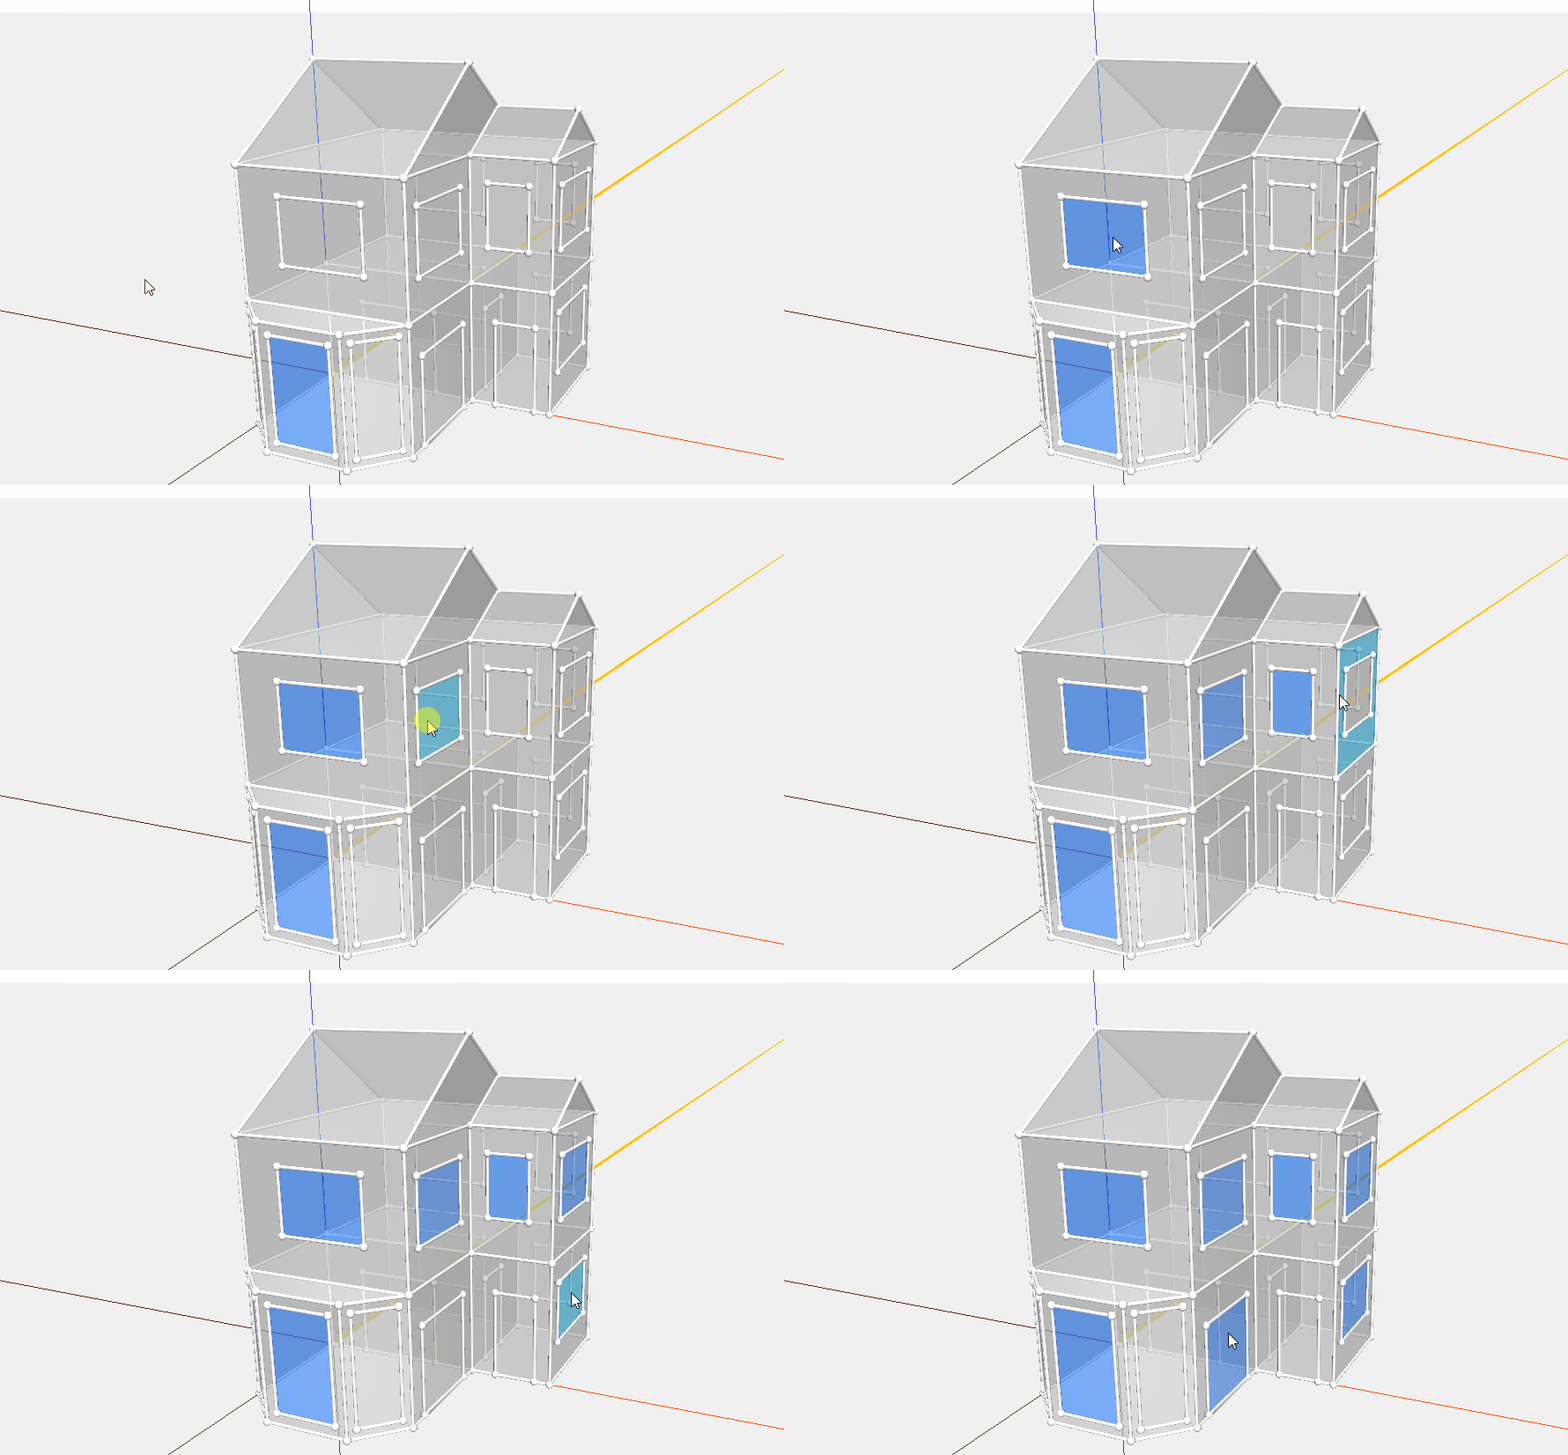
- Surface areas are carried over from the SketchUp import. These can be changed into a window or door in Elements under Properties – Components.
- You can also choose to add a door or window as a surface in the geometry within these areas. To do this, select a percentage of 99% to set the dimensions of the window/door in Elements.
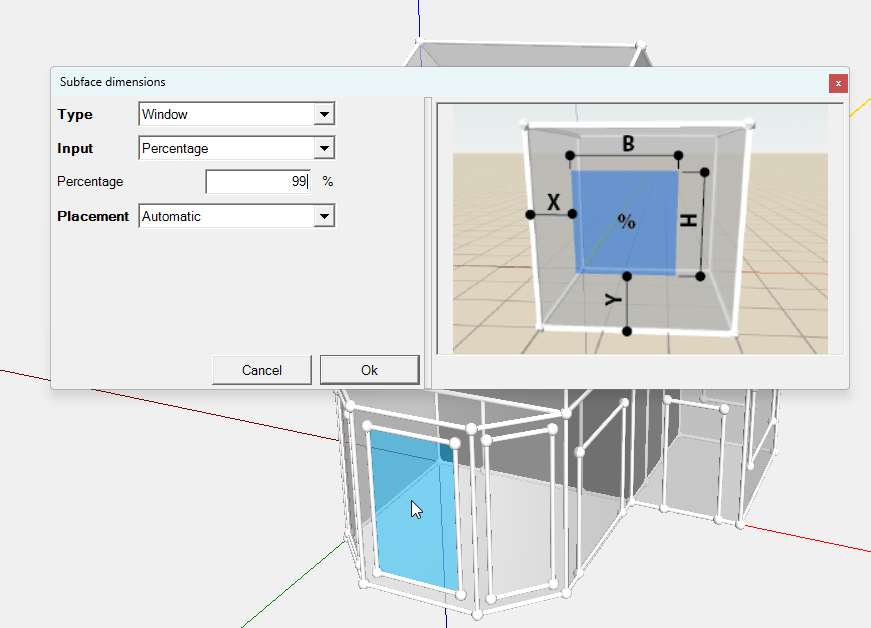
By then applying Ctrl + Click to the other surfaces, a window/door of 99% of that surface will also be placed there.
